While it is fresh in my memory I should write about settling in in Japan. I think I’ve been putting it off, probably because it was stressful and not fun but also because I feel like it’ll make a fairly dull blog post. It will, however, be useful to anyone who’s planning on staying in Japan longer than the 3 month period allowed for visitors from abroad (or at least from the UK). The first hurdle to enjoying your year abroad and settling into Japan properly is all of the admin you have to do in the first few weeks. So, here is how you should do things and how I tried to get stuff sorted – basically I wish I knew this stuff before.
STEP 1: Get your 在留カード (resident’s card) from the airport. If, like me, you hadn’t heard that you needed a form to get the magical allowed-to-work stamp then you won’t get permission to work, good job. You will now have to try to persuade your international students’ office at your university to apply for it for you.
STEP 2: Go to the ward office and get your card registered. Sounds easy but as we were running low on cash we tried to open a bank account first. No address on your resident’s card? no bank account, sorry your trip into central Kyoto was pointless (I did have a great teriyaki chicken burger though, so I’ll call it even).
After this, attempt to go to the ward office to find that yours is currently under construction and the map to the temporary one is tiny, unhelpful and in Japanese. Eventually find the ward office only to discover it’s a public holiday and therefore shut until Tuesday. Give up and go shopping.
On Tuesday (also my birthday) return to the ward office and get forms filled out. You must bring your passport and your resident’s card but also don’t forget your address otherwise they won’t be able to register you. Luckily I didn’t forget it. The ward office did have an issue with one of the dorms and those girls were still waiting for registration when I was done. You should leave AT LEAST 2 hours but just leave a morning or an afternoon free to deal with this – while efficient there are multiple waiting periods while they process your ticket and any mistakes you made on the form. If you can’t speak Japanese you can get through it anyway – there are people on hand to correct any sections you filled out wrong (the form is only available in Japanese) and they don’t make you fill out a whole new one every time you make a mistake, they just cross it out and correct it.
While at the ward office you can register for healthcare (you have to legally unless you’re from a rather short list of countries that Japan has a deal with). The healthcare system means you pay a flat rate per month (1,700円 for students, roughly £10) and in exchange you only have to pay up to 30% of all your medical bills while in Japan. You get given a rather flimsy insurance card that you need to carry with you at all times. Also you have to carry your resident’s card with you AT ALL TIMES or you get fined an amount “not exceeding 200,000円” which is about £1,100. I haven’t been stopped and asked for mine yet but it’s definitely not worth not having it. Also you can use it as ID so its pretty handy anyway.
Congrats you’ve completed the ward office. You must do this within 2 weeks of arrival in Japan (not sure what the penalty is but I wouldn’t risk it – don’t want to get deported).
STEP 3: Try to set up a bank account for the second time. What they didn’t tell you the first time is that you must have a Japanese phone number to get a bank account. You don’t have one yet and have to go home.
Realise that to get a Japanese phone number you really need a Japanese bank account and to get an account you need a phone number. You are now a bit stuck.
You can solve this circle of stupidity by just using the number for the office of international students of your university. You should probably ask permission but by this point I really just wanted an account and didn’t want to hear “no” so I did it without asking. So far there have been no repercussions.
The bank that I managed to open an account with is Shinsei Bank, which I would highly recommend. Despite the phone number issue, which all Japanese banks have issues with, it is really friendly to international customers. Though I did the whole account opening in Japanese it is possible to get information about the set up in English and the clerks were very friendly and helpful. In addition, Shinsei Bank allows you to make bank transfers from abroad immediately. Many Japanese banks have a mandatory waiting period for transferring money from overseas so if you go for a different bank you should check this first unless you’re happy to wait up to 6 weeks for your money. The account’s main selling point appeared to be the ability to pick the colour of your card, which, though not exactly promising in terms of service, was quite fun. My card is ‘grasshopper green’, I wont post a picture for security reasons but it’s really bright. Shinsei bank also has online banking and the card is a cash card – there aren’t really debit cards in Japan, only credit and cash so this shouldn’t be an issue, just go to the ATM whenever you need money (there’s one in every convenience store and post office). The cash card system is also easy to handle for someone who doesn’t speak much Japanese and there aren’t any fees attached to opening or using your account. Basically, Shinsei seems to be the way to go.

Its like choosing your starter pokemon
STEP 4: Try to get your phone sorted. Realise that in Japan you can’t really get a phone contract for a period under 2 years. It used to be the case that foreigners would just get a phone contract and break it when they left. Now if you do that no bank will allow you to open an account with them when you go back to Japan – not a great option.
If you have an Iphone you’re okay, you can get a contract or pre-paid SIM. If you have a blackberry they will look at you with mild disgust and shake their head. Other smart phones seem to work well but it depends on the carrier settings and network – Japan’s phone network relies on 3G and some other tech stuff that I don’t really understand so if you aren’t sure make sure to google it before buying a SIM.
It’s pretty hard to find a SIM for a phone in Japan without renting the handset along with it. There are some at airports but they are only for a period up to a month and are extortionately expensive – they are aimed at businessmen that want a phone that wont rack up $$$ of data. For long-term residents this option is stupid unless you are literally made of cash. Several foreign students have rented or bought handsets along with the SIM which appears to work well but for those that want to keep their smart phone you have to hunt for an independent SIM. Why is Japan so dumb about phones? Apparently this is because organised criminals (Yakuza) would use unlocked phones and prepaid SIMs to make themselves hard to track down. A quick google doesn’t turn up anything but its plausible. Thankfully there are now more unlocked phones and SIMs in Japan than 10 years ago and we went on the recommendation of the year that just got back from Japan to find ours.
I bought a B-mobile SIM which includes both voice calls and an internet plan at Yodobashi Camera which is next to Kyoto Tower and near Kyoto Station. You buy the SIM for about 3,000円 (about £17) and then register online for a plan (you can choose how much data per month you want) – the price per month depends on what plan you choose. There are also options to get a SIM with only internet or only voice and text, both of which are cheaper than the combined SIM.
Yodobashi Camera is pretty fun and great whatever you’re looking for – its a gigantic electronics shop but it also has clothes, home utilities and games. It’s at least 5 stories, I haven’t been to all of them. Also they have a gold card which is free and you can collect points – when I was desperate for an internet adapter I managed to get it for half price with all the points I got!
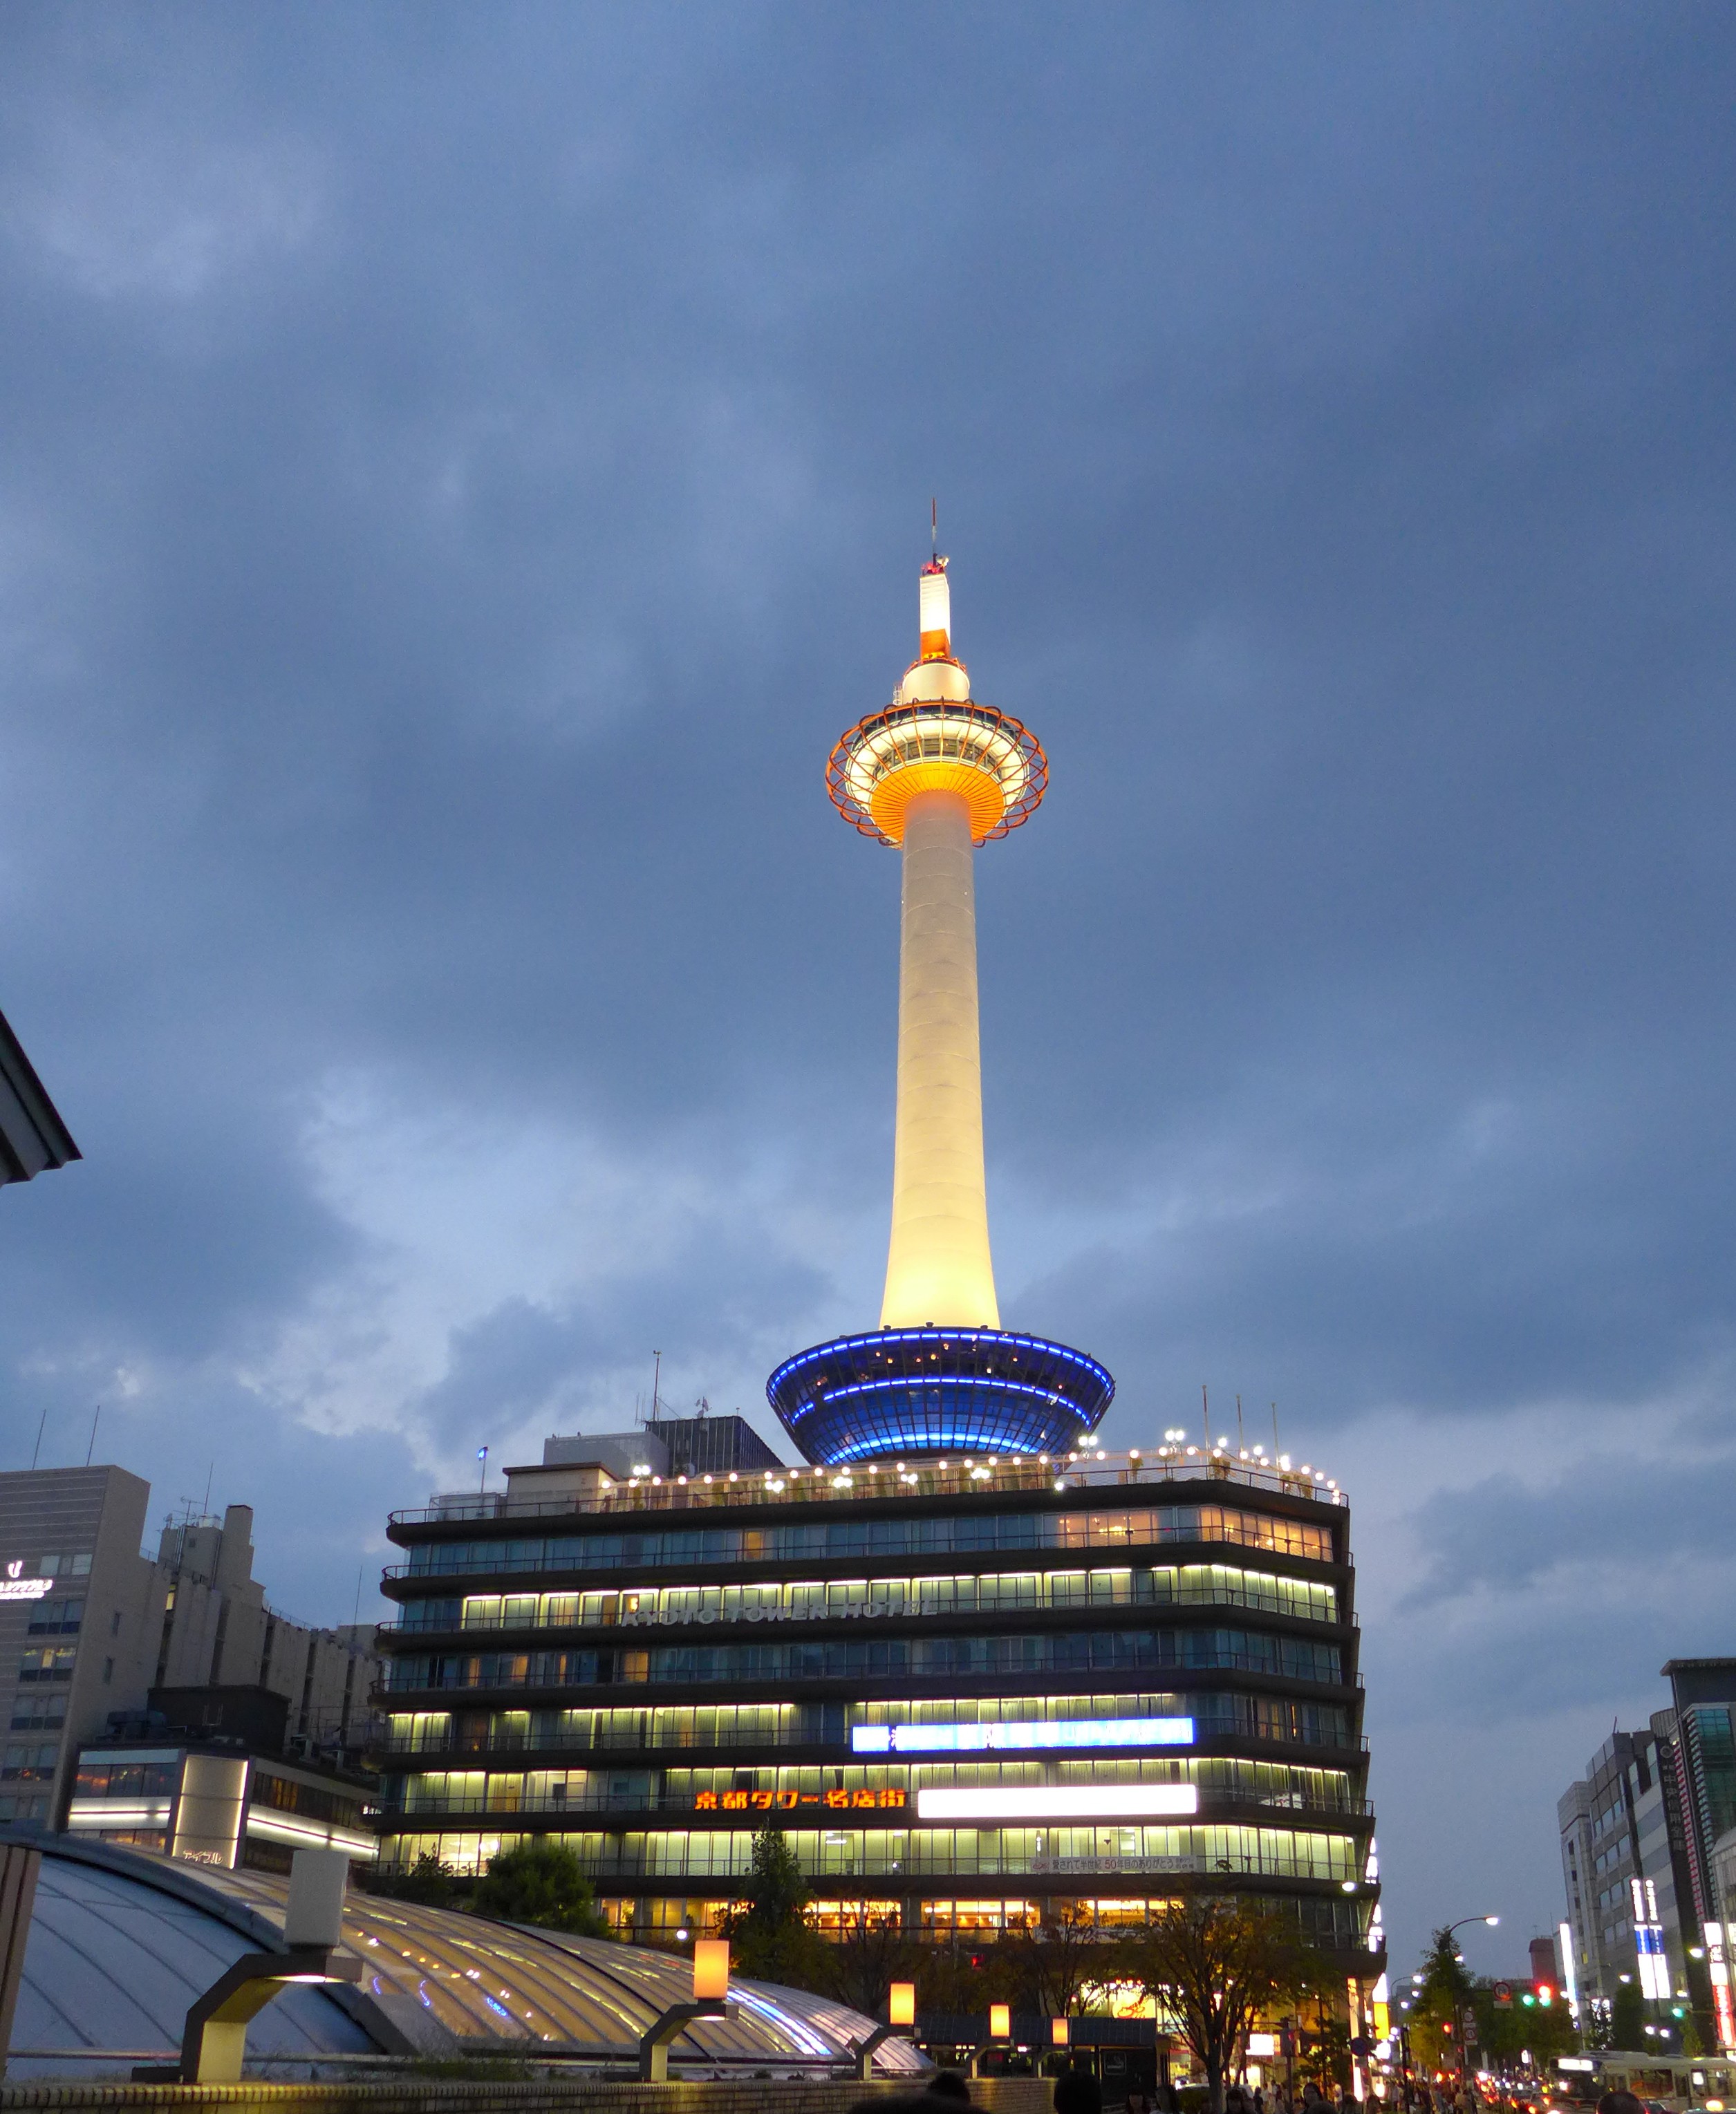
Yodobashi is just behind the majesty of Kyoto Tower
So by this point you’ve got a phone that works (or will soon), a bank account, and you probably won’t get kicked out of Japan for being an illegal immigrant. You’re pretty much set, though you still have the joys of registering for classes, working out how to pay your rent and attending fairly pointless orientation workshops on self-defense, fire fighting and earthquake drill. Also you will have to do the traditional 自己紹介 (Jiko Shokai – self introduction) about a billion times. Jiko Shokai happens when you have your first orientation, when you have your first class, every time you have a new teacher and even your first essay in your Japanese writing class will be a Jiko Shokai so I hope you have enough hobbies to talk about (or you can just make them up like everyone else).
I managed to do all of this settling in stuff as well as trying to negotiate getting my laptop fixed and not having internet for almost a week so it’s not actually that overwhelming. My main advice is just follow these steps in the right order and get used to filling in forms – don’t worry about making mistakes, no one really cares that much if you do. If you don’t follow these steps in this order you won’t be able to do anything – this is a concrete flow chart, you can’t choose the order or you’ll anger Japanese Bureaucracy Godzilla.
Though this post doesn’t have pretty pictures I hope it will be useful to anyone that has to go through the process of settling into Japan – this is all made harder as you have to conduct 90% in Japanese (or in caveman style pointing/ charades) but it does end and now the whole experience is drifting into the past hopefully never to be revisited.